Last Updated: 2020-09-20
Overview
Google Cloud Platform (GCP) is a suite of cloud computing services that runs on the same infrastructure that Google uses internally for its end-user products, such as Google Search, Gmail, Drive and YouTube. Alongside a set of management tools, it provides a series of modular cloud services including computing, data storage, data analytics and machine learning.
In this lab, you will create a VM that will download up-to-date information about earthquakes that the USGS provides, create an image showing the data via a Python script, and then distribute the image via a storage bucket. As a result, the VM needs to be configured to create storage buckets as well as read and write objects to/from them.
What you'll build
In this codelab, you'll get to know the basics of IAM:
- Create Service Accounts
- Create VMs with different access scopes
What you'll learn
- How to do basic Identity & Access Management
What you'll need
- A recent version of your favourite Web Browser
- Basics of BASH
Create an Account
In this step, you register for the Google Cloud Platform free trial and create a project. The free trial provides you:
- $300 Credit for Free
- Access to Google Cloud Platform Products
- You Won't be Billed (though you need to enter your credit card)
- Build with the Power, Speed, Security, Reliability, and Scalability of Google
To register for the free trial open the free trial registration page.
If you do not have a Gmail account, follow the steps to create one. Otherwise, login and complete the registration form.
Read and agree to the terms of service. Click Accept and start a free trial.
Create a Project
Next, create your first project using the Google Cloud Platform Console. The project is used to complete the rest of the lab.
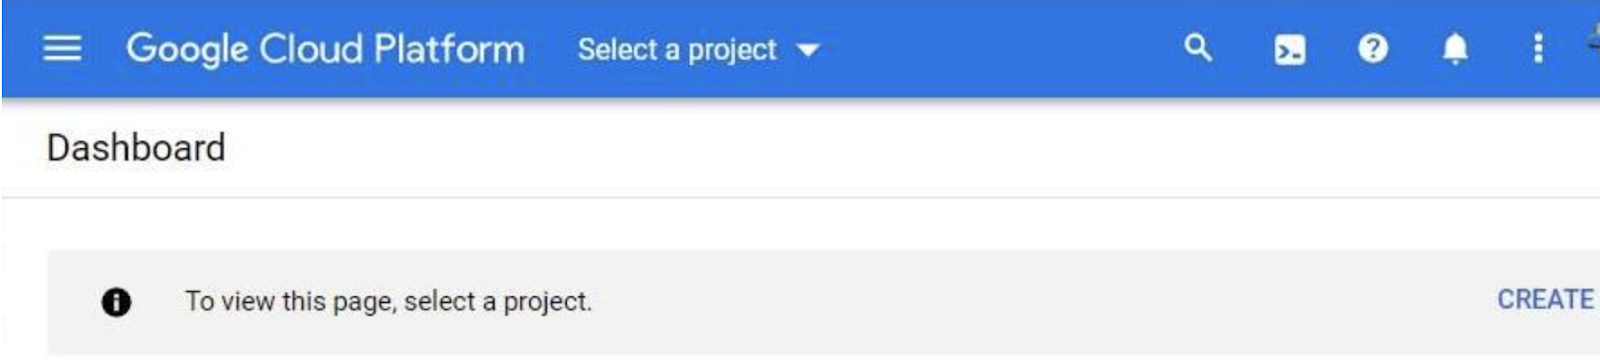
To create a project in the Google Cloud Platform Console, click Select a project → New Project.

In the New Project dialog: for Project name, type whatever you like. Think of a cool Project ID in the text below the project name box and make a note of it; you need it later. Then click Create.
Upgrade Account (Optional)
In the upper-right corner of the console, a button will appear asking you to upgrade your account. Click it when you see it. If the Upgrade button does not appear, you may go to the Free Trial status window:

There you should see an "Activate" button. For more info you can check the upgrade documentation.
When you upgrade your account, you immediately have access to standard service quotas, which are higher than those available on the free trial.
Finalize
On the GCP Console, use the left-hand side menu to navigate to Compute Engine and ensure that there are no errors.
Visit Compute Engine in the web console.
Begin the creation of a new Debian 10 VM in europe-west1-b using an f1-micro instance. Scroll down to the "Identity and API access" section.
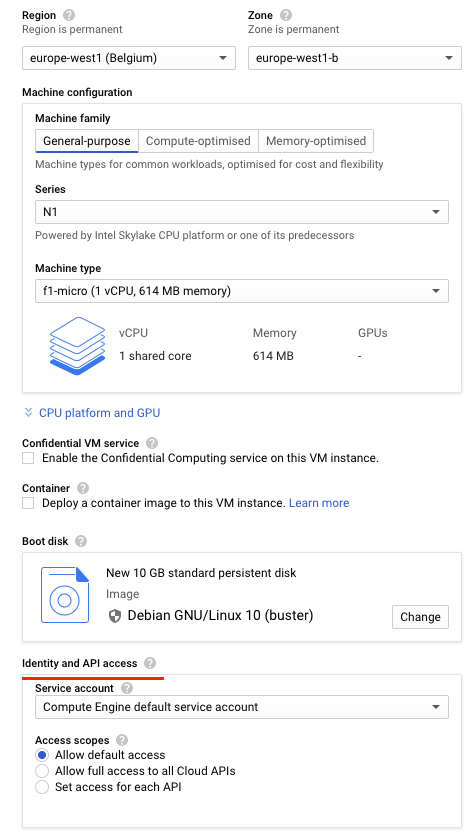
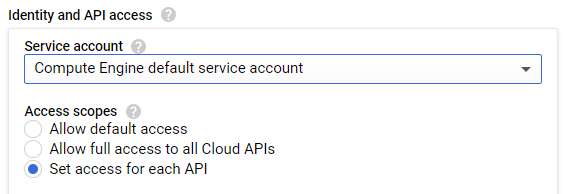
As the UI shows, unless otherwise specified, Compute Engine instances are assigned a "Compute Engine default service account" that controls its access to the platform.
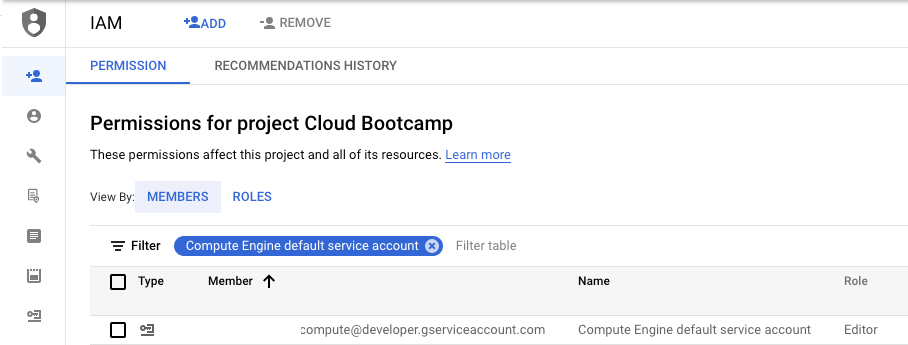
In another window, bring up your project's IAM settings and find the service account.
You should see that the Default account has the Editor role.
Go back to your Compute Engine configuration. It is good practice to restrict the privileges of your VM in case it is ever compromised. The recommended way would be to create a custom service account that contains only the roles that the VM needs. Another way to restrict the VM's access is to use the legacy "Access scopes" mechanism shown in the UI.
Hover over the question mark next to "Access scopes". You should see that while the service account has roles attached to it that are overly permissive, the default access scope overly restricts them.
We will configure the VM to use the default service account and its roles, but customize the access scope to enable the functions of the lab. Under "Access scopes", select "Set access for each API".
Scroll down to where Storage is configured to see its default setting. Change the setting to "Full"

Create the VM and wait for it to come up. Then, from the Compute Engine console, click on "ssh" to bring up a session on it.
Setup the VM
On your ssh session on the Compute Engine VM, clone the repository containing the code we will use for the lab and change directories into it.
$ sudo apt update && sudo apt install wget git -y
$ git clone https://github.com/GoogleCloudPlatform/training-data-analyst

$ cd training-data-analyst/CPB100/lab2b
Download the latest earthquake data as a CSV file.
$ wget https://earthquake.usgs.gov/earthquakes/feed/v1.0/summary/all_week.csv -O earthquakes.csvInstall the required Python3 packages
$ sudo apt install -y python3-mpltoolkits.basemap python3-numpy python3-matplotlib python3-requestsCreate and distribute earthquake image
Run the code to generate the image:
$ python3 transform.pyThe file earthquakes.png should have been created. Unfortunately, we need a way to access it. While we could try to copy it over ssh, we will instead use Cloud Storage.
To begin with, make a new bucket with gsutil mb using a unique bucket name.
$ gsutil mb gs://<UNIQUE_BUCKET_NAME>Copy all of the earthquake files, including the image, to the bucket:
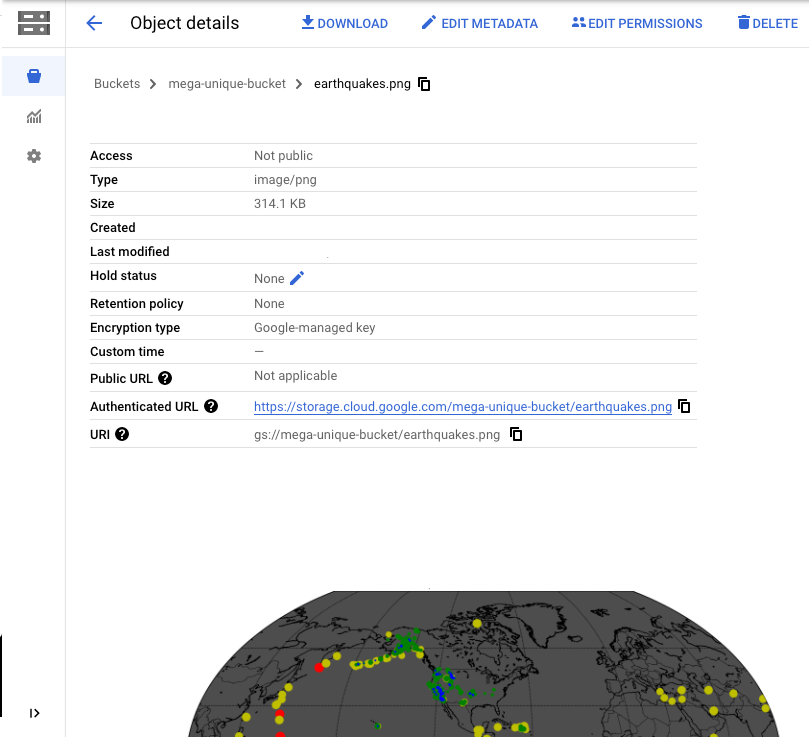
$ gsutil cp earthquakes.* gs://<UNIQUE_BUCKET_NAME>In the web console, bring up Cloud Storage
Navigate to the bucket you have created, and click on the earthquake.png file. Show the image that has been created.
The previous VM used the Compute Engine default service account and set its access scopes to restrict the VM to full access only to Cloud Storage. The access scope method is a legacy mechanism and it is undesirable to have multiple, disparate ways to perform access control as it increases complexity. Instead, best practices for implementing least-privileges on Google Cloud is to set the access scope to allow the entire platform, but to create service accounts with the minimal roles and permissions attached to them.
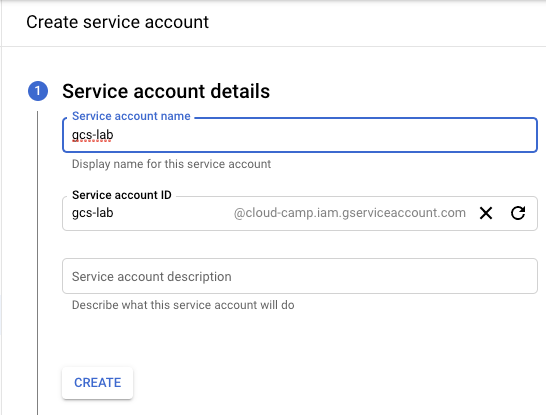
Go to IAM and visit "Service accounts"
Create a new service account and call it gcs-lab.
Then, add a role to the service account that only allows it to read objects in your buckets (Storage Object Viewer).
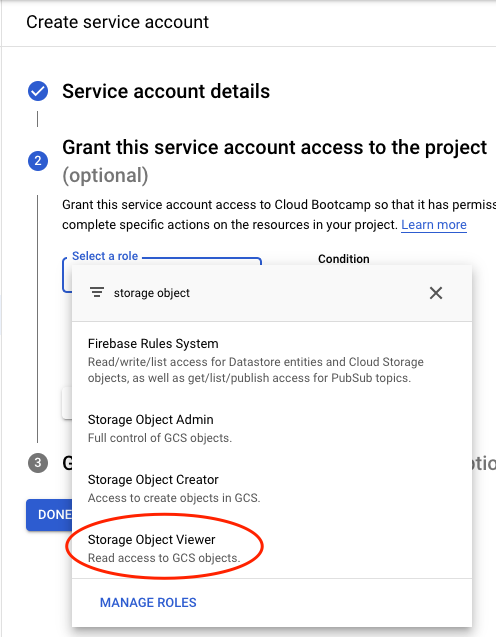
Skip the process for assigning per-user access to the service account as we will be assigning this account to a subsequent Compute Engine VM. Click Done.
You should see the service account in the UI after its creation.

Visit Compute Engine in the web console.
Begin the creation of a new Debian 10 VM in europe-west1-b using an f1-micro instance. Scroll down to the "Identity and API access" section. Instead of using the Compute Engine default service account, select the service account you have just created instead.
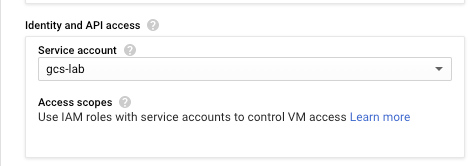
With this service account, all accesses to resources will be done according to the roles that have been associated with it (i.e. Storage Object Viewer).
Service account roles
ssh into the new VM.
Attempt the following command:
$ gcloud compute instances list

ERROR: (gcloud.compute.instances.list) Some requests did not succeed:
 - Required 'compute.zones.list' permission for 'projects/PROJECT_ID'
Go back to the service account in IAM
click the pencil icon on the far right to edit the account.

Then, click on "ADD ANOTHER ROLE", then in the filter box, type "Compute".
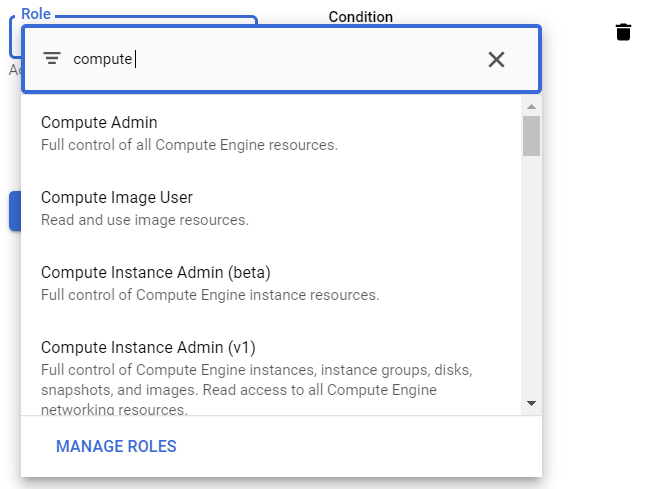
Scroll the options to find the Compute role that best fits what you require to list instances (Compute Viewer). Add the role and save the changes.
Go back to the VM and repeat the command until it succeeds.
In the same ssh session, use the gsutil command to copy the earthquake image file in the previous part from the storage bucket onto the VM.
$ gsutil cp gs://<UNIQUE_BUCKET_NAME>/earthquakes.png .The command should succeed since the Storage Object Viewer role has been attached to the service account assigned to the VM.
Rename the file to a different name and then attempt to copy it back into the bucket.
$ cp earthquakes.png moonquakes.png
$ gsutil cp moonquakes.png gs://<UNIQUE_BUCKET_NAME>/

Copying file://moonquakes.png [Content-Type=image/png]...
AccessDeniedException: 403 gcs-lab@PROJECT_ID.iam.gserviceaccount.com does not have storage.objects.create access t
o UNIQUE_BUCKET_NAME/moonquakes.png.
Go back to the service account in IAM
click the pencil icon on the far right to edit the account.
Then, click on "ADD ANOTHER ROLE", then in the filter box, type "Storage Object". Scroll the options to find the role that best fits what you require (Storage Object Creator). Add the role and save the changes.
Go back to the VM and repeat the gsutil command until it succeeds.
Delete the service account
$ export PROJECT_ID=$(gcloud config list --format 'value(core.project)')
$ gcloud iam service-accounts delete gcs-lab@${PROJECT_ID}.iam.gserviceaccount.com
Delete the storage bucket:
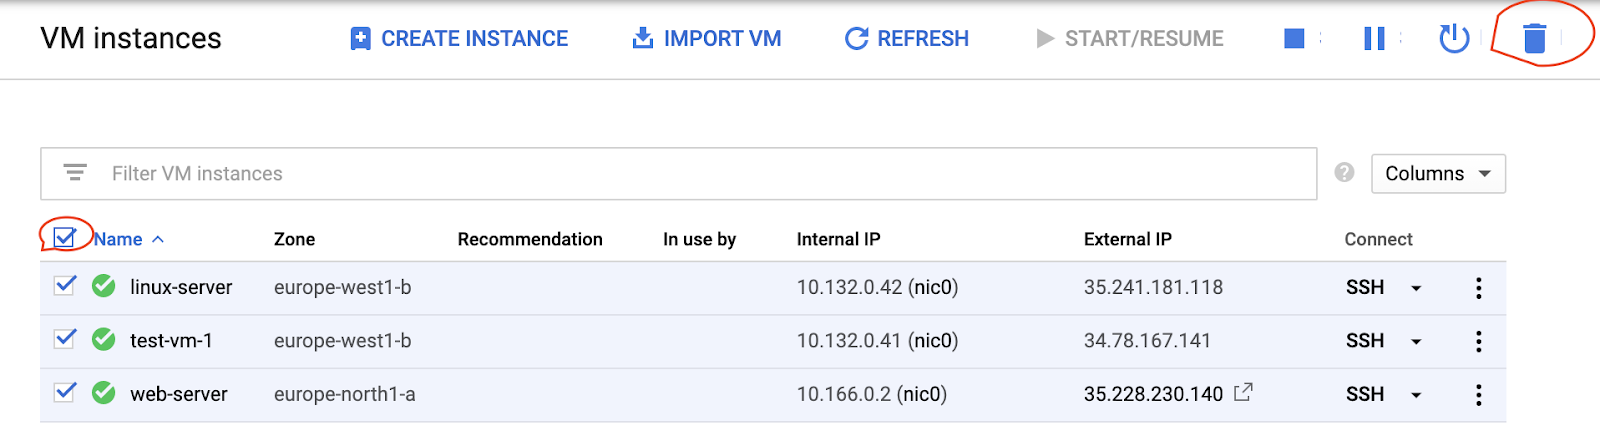
$ gsutil rm -r gs://<UNIQUE_BUCKET_NAME>Go to Compute Engine:
Delete remaining instances.