Last Updated: 2020-09-23
Overview
Google Cloud Platform (GCP) is a suite of cloud computing services that runs on the same infrastructure that Google uses internally for its end-user products, such as Google Search, Gmail, Drive and YouTube. Alongside a set of management tools, it provides a series of modular cloud services including computing, data storage, data analytics and machine learning.
Google Cloud Platform provides infrastructure as a service, platform as a service, and serverless computing environments.
What you'll build
In this codelab, you're going to create a durable and highly available web game.
You will:
- Configure a machine to run a web application.
- Create a custom image from your configured instance.
- Create an Instance Template.
- Create Instance Groups and Health Check in the United States and Europe.
- Set up a load balancer to balance traffic across your instance groups.
- Set up autoscaling.
- Send simulated load to the load balancer using ApacheBench.
- Monitor traffic to your load balancer.
What you'll learn
- How to create and manage Managed Instance Groups
- How to create and manage Load Balancers
What you'll need
- A recent version of your favourite Web Browser
- Basics of BASH
- GCP Trial account
Create an Account
In this step, you register for the Google Cloud Platform free trial and create a project. The free trial provides you:
- $300 Credit for Free
- Access to Google Cloud Platform Products
- You Won't be Billed (though you need to enter your credit card)
- Build with the Power, Speed, Security, Reliability, and Scalability of Google
To register for the free trial open the free trial Registration page.
If you do not have a Gmail account, follow the steps to create one. Otherwise, login and complete the registration form.
Read and agree to the terms of service. Click Accept and start a free trial.
Create a Project
Next, create your first project using the Google Cloud Platform Console. The project is used to complete the rest of the lab.
To create a project in the Google Cloud Platform Console, click Select a project > Create a project.
In the New Project dialog: for Project name, type whatever you like. Make a note of the Project ID in the text below the project name box; you need it later. Then click Create.
Upgrade Account (Optional)
In the upper-right corner of the console, a button will appear asking you to upgrade your account. Click Create a Project when you see it. If the Upgrade button does not appear, you may skip this step. If the button appears later, click it when it does.
When you upgrade your account, you immediately have access to standard service quotas, which are higher than those available on the free trial.
Finalize
On the GCP Console, use the left-hand side menu to navigate to Compute Engine and ensure that there are no errors.
At the end of this lab, you may delete this project and close your billing account if desired.
Create a virtual machine
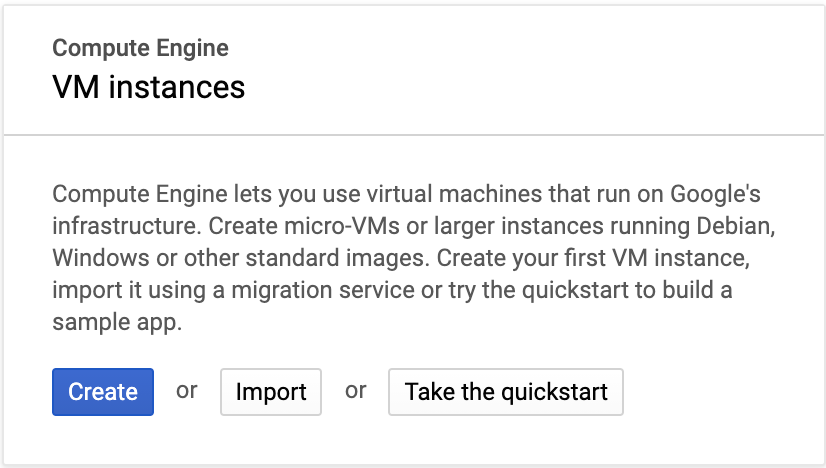
From the Products and Services menu, choose Compute Engine.
Click the Create button to create a virtual machine.
Name your new machine web-server. Use any zone you wish.
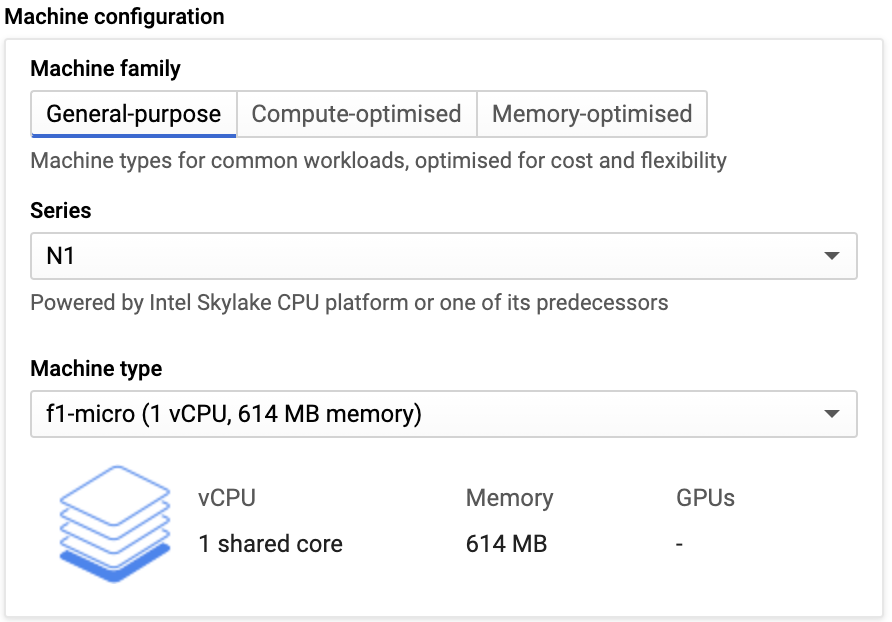
In the Machine configuration select General-purpose, Series: N1, Machine type: f1-micro.
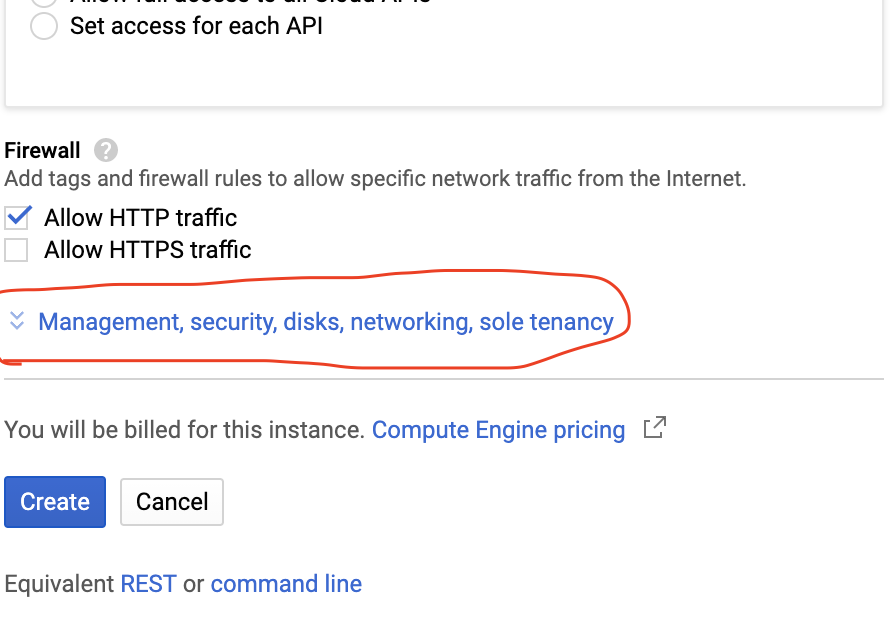
Scroll to the Firewalls section and check the box to enable HTTP (leave HTTPS unchecked).

Click the Management, disk, networking, SSH keys link to expand the advanced options.
Then, click the Disks tab. Uncheck the Delete boot disk when instance is deleted checkbox as shown below.

Leave all the other settings at their defaults and then click Create.
When the machine is ready, SSH into it.

Configure the web application
Enter the following commands to install Apache and Git.
$ sudo apt-get update
$ sudo apt-get install -y git apache2
Next, remove Apache's default home page and replace it with an already written website.
Enter the following commands to change into Apache's home folder and delete the default home page.
$ cd /var/www/html
$ sudo rm index.html -f
Enter the command below to get a website from GitHub.
$ sudo git init
$ sudo git pull https://github.com/DmyMi/2048.git
$ sudo systemctl restart apache2Go back to the web console and click on the external IP address of the web server and see if the website works. It should look as shown below.

Create an Image
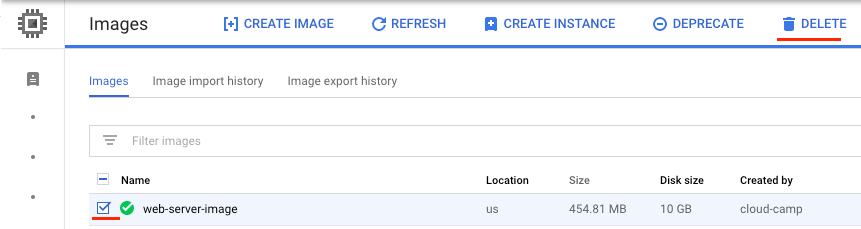
In the web console, select your web-server VM and delete it.
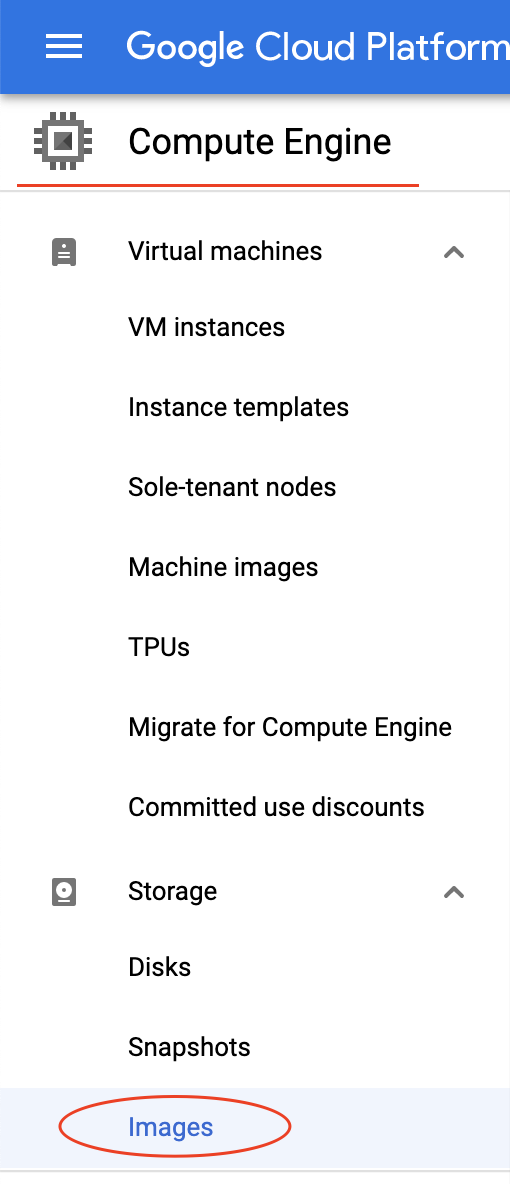
Go to Images in the navigation pane on the left.
Then, click the Create image button.
Name the image web-server-image. Set the family to web-game.
Then, select web-server from the Source disk dropdown.
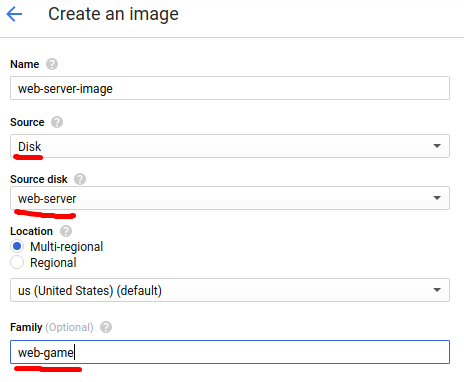
Finally, click the Create button.
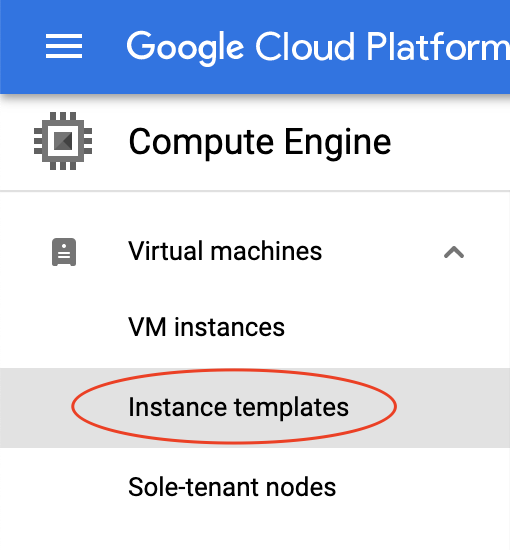
From the Products and Services menu, choose Compute Engine. Then, click Instance templates from the navigation pane.
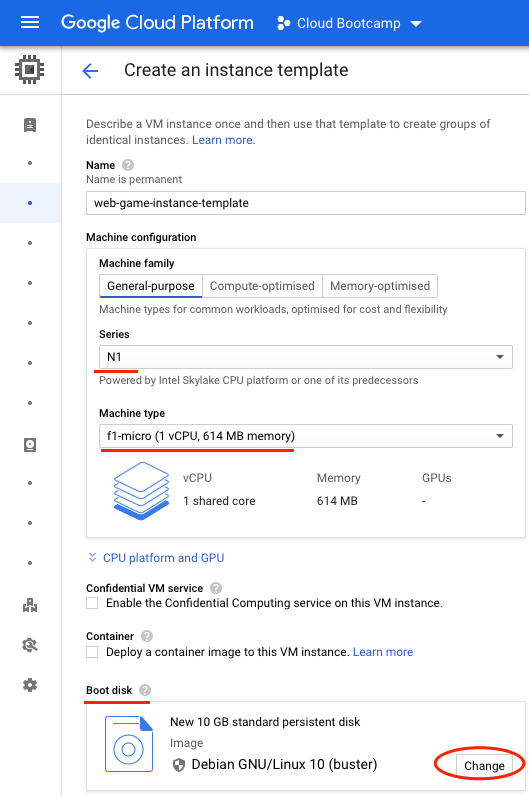
Click the Create instance template button. Name your instance template web-game-instance-template.
From the series dropdown select N1, from machine type dropdown, select f1-micro (1 shared vCPU).
Click the Change button in the Boot disk section.
Click the Custom images tab and select your web-server-image. Then, click the Select button.
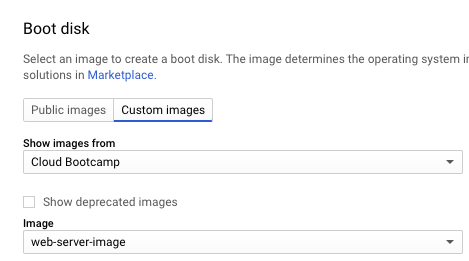
Check the Allow HTTP traffic checkbox (leave HTTPS unchecked).
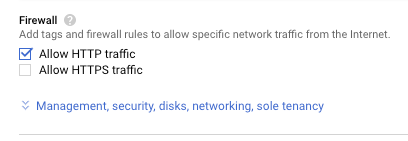
Click the Management, disk, networking, SSH keys link to expand the advanced options. Add the following code to the Startup script text box.
#! /bin/bash

ZONE=$(curl "http://metadata.google.internal/computeMetadata/v1/instance/zone" -H "Metadata-Flavor: Google")

sed -i "s|zone-here|$ZONE|" /var/www/html/index.html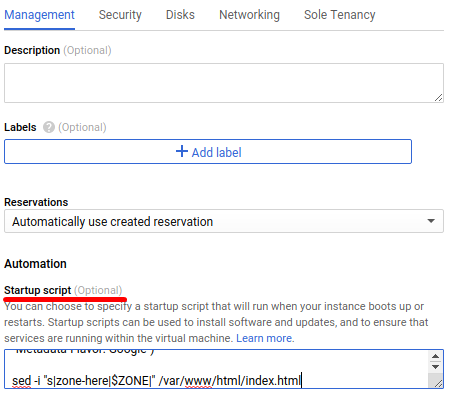
Click the Create button to create the instance template.
Create Managed Instance Group in US
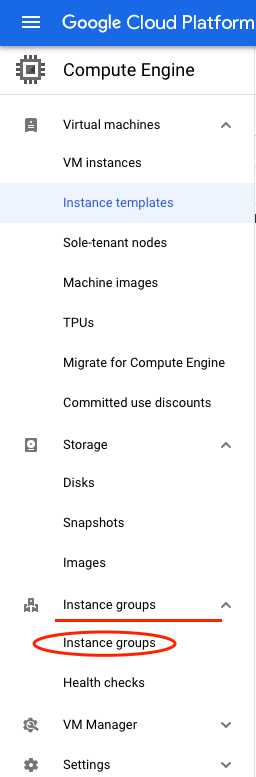
From the navigation pane, select Instance groups.
We will start simple and just create an instance group with three identical machines.
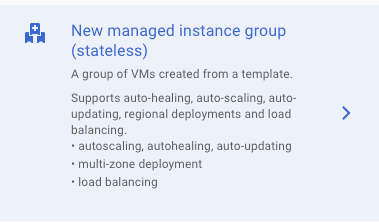
Click the Create instance group button.
Make sure the Stateless option is selected:
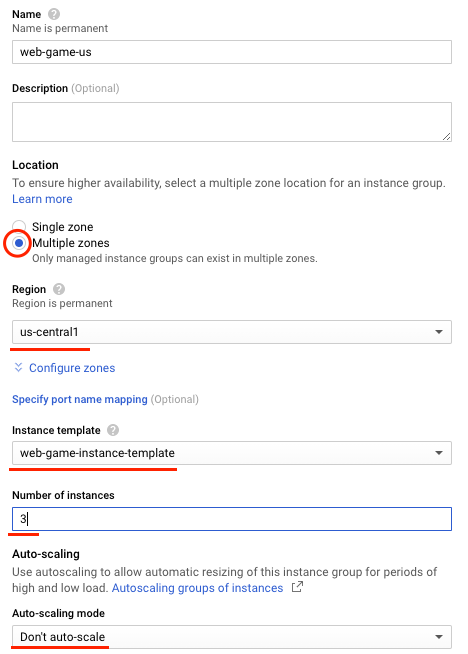
Name your instance group web-game-us. Select the multi-zone radio button, and set the region to us-central1.
Select the web-game-instance-template you just created from the Instance template dropdown.
Turn Auto Scaling off and set the number of instances to 3.
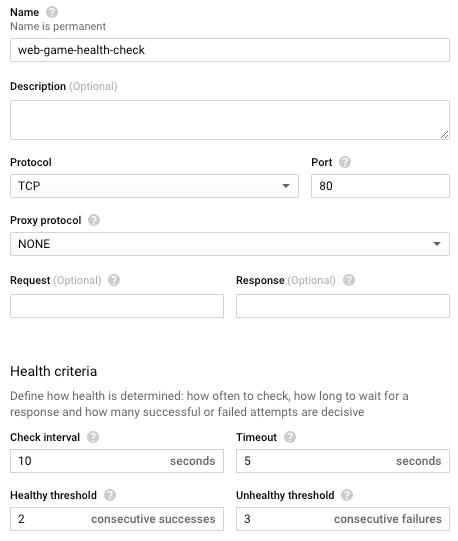
From the Health check dropdown, select Create a health check.

Name the health check web-game-health-check. Set the Check interval to 10 and set the Unhealthy threshold to 3. Save the health check and continue configuring the instance group.
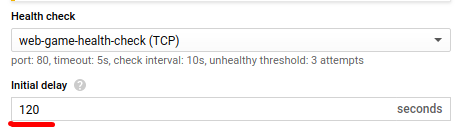
Set the initial delay in the instance group to 120. Then, click the Create button.
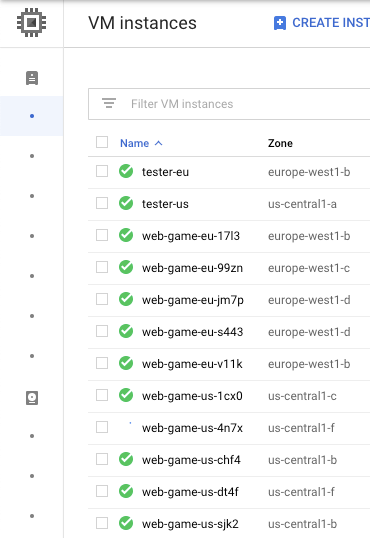
Wait a few seconds and then go to the VM instances.
You should see three instances get created. You might have to hit the Refresh button a couple times.
Click on each of the machine's' external IP addresses and verifying the website is working on each one.
Go back to the Instance groups page. Select your instance group, and then click the Edit Group button at the top.
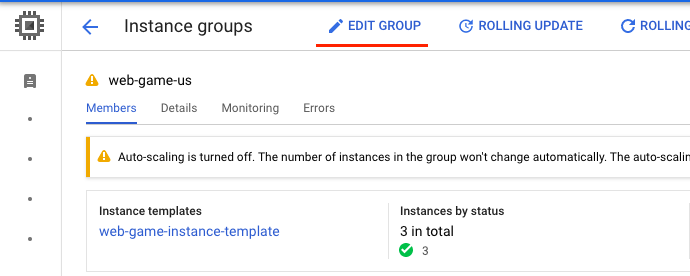
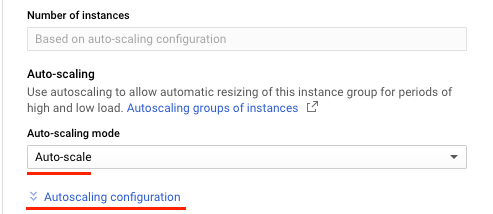
Turn Autoscaling On. Then expand Autoscaling configuration link.
Set the minimum number of instances to 1 and set the maximum number of instances to 5.
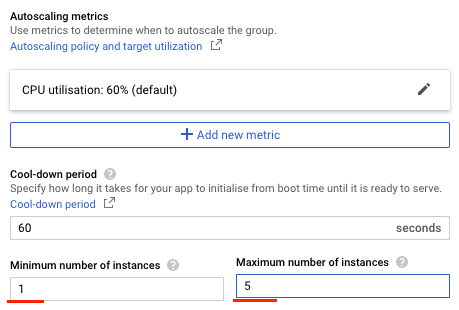
Leave everything else at its default value and click the Save button.
Since there is no load on the web servers, after a few minutes the instance group will scale to 1 and turn the unneeded machines off.
Create Managed Instance Group in EU
Create another instance group. This time name it web-game-eu.
As before, make it a Multi-zone instance group. This time select europe-west1 as the region though.
Choose your instance template.
Turn Autoscaling On and scale between 1 and 5 instances. Select the health check you created earlier, and set the initial delay to 120.
Finally, click Create to create the instance group.
If enough time has gone by, your first instance group will have scaled down.
Go to the VM Instances page.
You should have a machine starting in Europe and one or more machines in the US. Wait for the machine in Europe to be ready and then click its external IP address to verify the website is working.
Create a Load Balancer
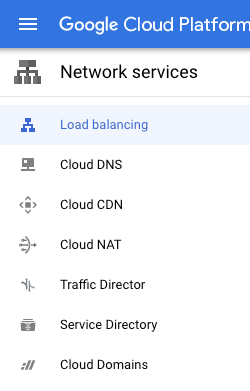
From the Products and Services menu, choose Network Services and then click the Load balancing section.
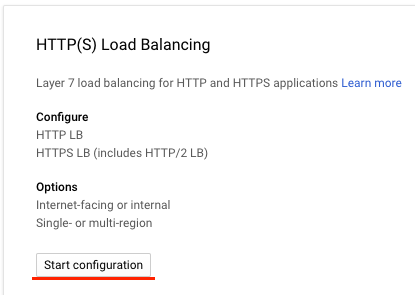
Click the Create load balancer button, then click the Start configuration button in the HTTP(S) Load Balancing section.
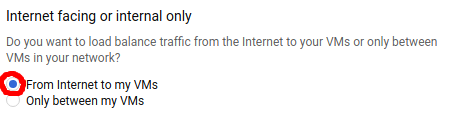
On the next screen make sure you pick the From internet to my VMs option and click continue.
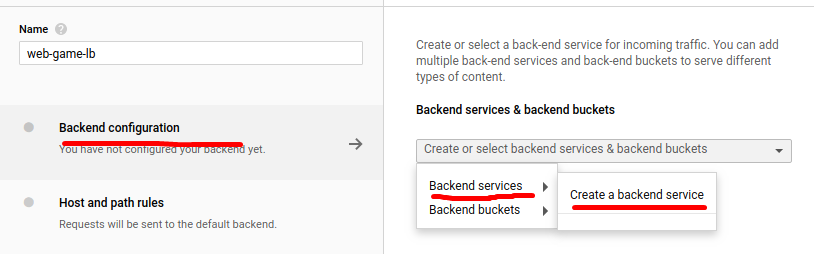
Name your load balancer web-game-lb.
Click Backend configuration, then from the Create or select backend services & backend buckets dropdown, select Backend services | Create a backend service.
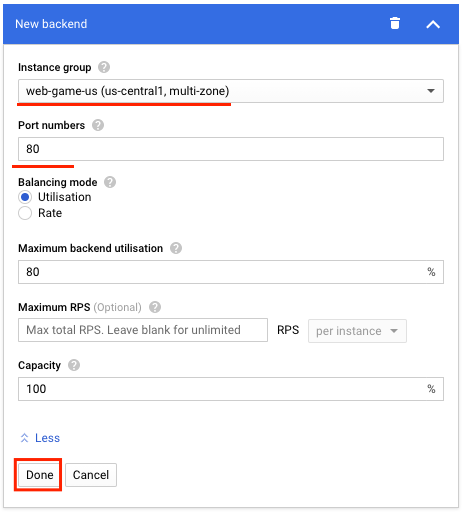
In the Create backend service dialog, name the Backend service web-game-bes. In the Backends section, select one of your instance groups from the Instance group dropdown. Set the port number to 80. Leave other values as the default and click Done.
Then, click the Add backend button and select the other instance group and click Done again.
Scroll down a little and select your health check for web servers. Leave everything else for the backend service at their default values.
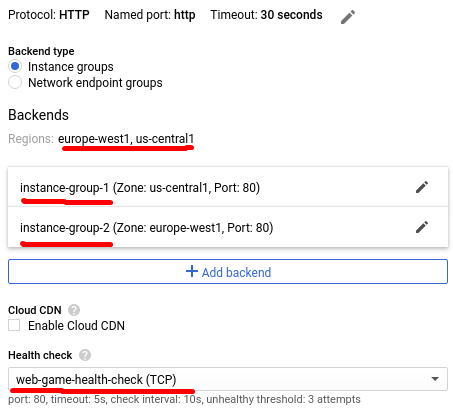
Click Create.
Now, click Host and path rules. The defaults for this should be fine.
Click Frontend configuration. The defaults should be fine for this as well.
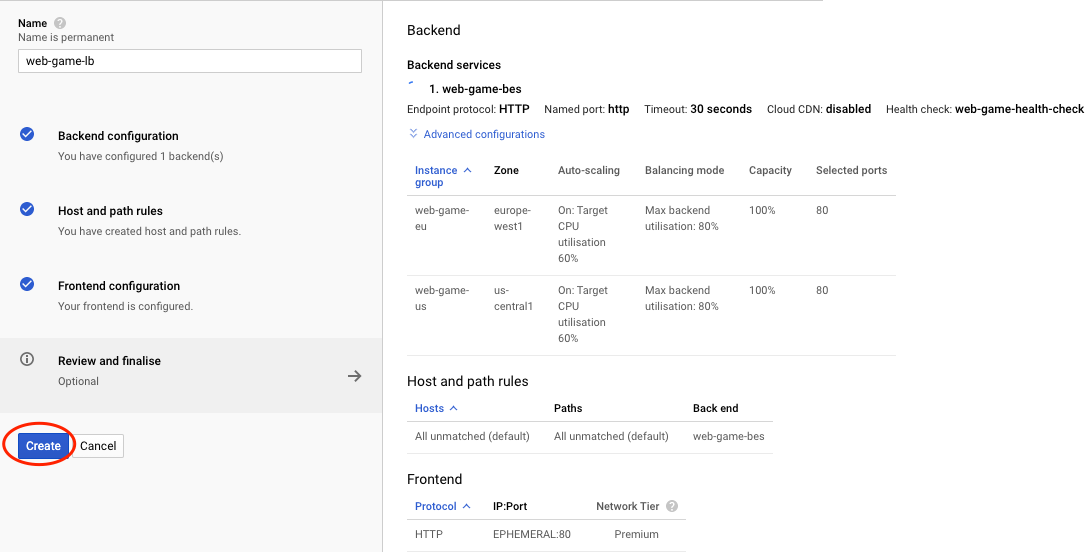
Click Review and finalize. At this point, you should see 3 checkmarks on the left side of the screen and your instance groups in the right part.
If you have all check marks, click the Create button to create your load balancer.
Check your Load Balancer
After a few minutes, your screen will show an active load balancer.
Click the load balancer to see its details.
In the details section, look at the Backend services section. If there are zero healthy instances as shown in the screenshot below, then the load balancer isn't ready.
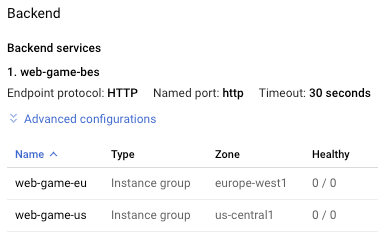
When you see that there are healthy instances, then you can make requests to the load balancer.
Scroll up to the Frontend section of the load balancer details and you will find an IP address similar to what is shown below.
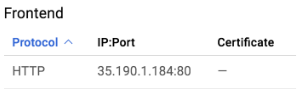
Copy and paste the IP address into a text file so you have it later on.
Open a new browser tab and make a request to that IP address. You don't need to include the port since 80 is the default when making an HTTP request.
Create tester instances
Go to the Compute Engine VM instances page.
Create two f1-micro instances. Name the first tester-us and choose a zone in us-central1. Name the second machine tester-eu and choose a zone in europe-west1.
SSH into each machine and run the following commands.
$ sudo apt-get update
$ sudo apt-get install -y apache2Once the commands from the previous step complete on each machine, ApacheBench should be installed.
Simulate load
Let's start small. Enter the following command from each machine. It will make 50 requests, one at a time. You will need to enter your load balancer's IP address where indicated.
$ ab -n 50 -c 1 http://your-ip-address-here/In the web console, go back to the Networking services and Load balancing. Click on your load balancer to see its details. Then click the Monitoring tab. In the Backend dropdown, select your web-game-bes.
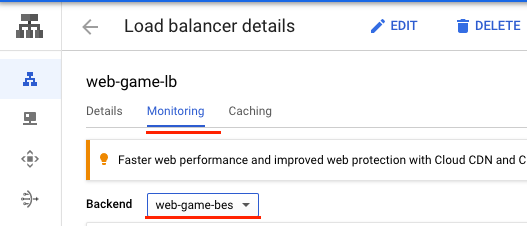
The monitoring console should show some requests. The charts aren't updated immediately so be patient.
Go back to the SSH window of each machine. Press the up arrow on your keyboard to repeat the previous ApacheBench command on each machine. Press Enter to repeat the command and let the command complete.
Press the up arrow again, but change the number of requests to 1000 and the number of concurrent requests to 10. Do this on each machine.
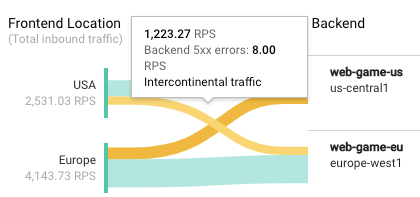
$ ab -n 1000 -c 10 http://your-ip-address-here/Go back to the browser tab monitoring your load balancer. You should be seeing requests come in from both North America and Europe.
Open another browser tab and go to the web console and the Compute Engine service and click on the Instance groups section.
At this point, the number of instances in both of your instance groups should be listed as one.
Run your ApacheBench command again. This time specify 100,000 requests, 1000 at a time. Do this from both machines.
$ ab -n 100000 -c 1000 http://your-ip-address-here/Look at the load balancer's monitoring page. Be patient, the page won't update immediately. You will likely see some errors show up because we don't have enough machines to support the number of requests.
Go back to the Instance groups page and refresh it. You should see one or more of the groups autoscale.
Experiment by making some more requests. Monitor the load balancer and keep refreshing the Instance groups page. As you keep making requests, the instance groups will turn additional machines on to handle the load.
Try making a million requests, 5000 at a time.
$ ab -n 1000000 -c 5000 http://your-ip-address-here/As new machines are created, they show up in the monitoring page.
As load increases, the instance groups will add machines as needed.
If you look at VM instances, you will see new virtual machines appear or disappear based on how many machines the instance groups think they need.
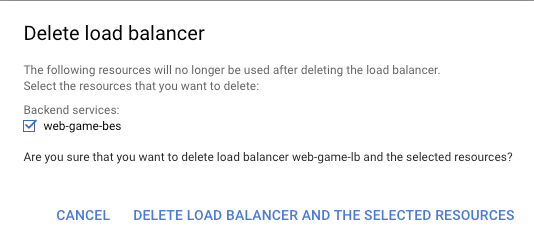
In the web console, go to the Networking services. Then click Load balancing.
Select your load balancer and click the trash can icon in the top row to delete it. When prompted, check the box indicating you want to also delete your backend service. Confirm your request.
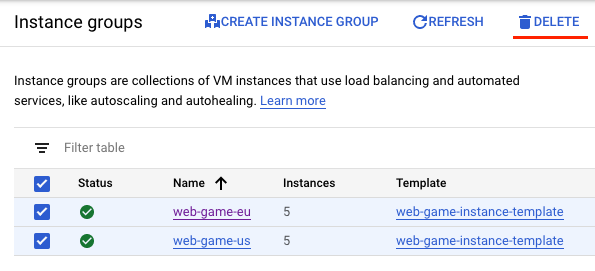
Wait a few minutes till the LoadBalancer is deleted. Go to the Compute Engine service and click Instance groups.
Select all your instance groups and click the Delete button. Confirm that you want to do this.
Wait a few seconds and then go to the VM instances page. The machines created by the instance groups should be deleted automatically. Select your tester machines and delete those.

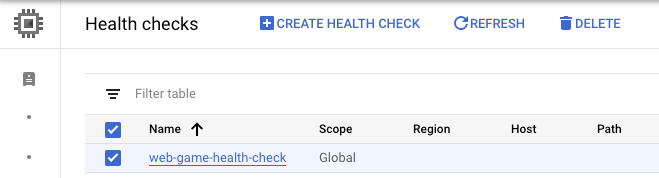
Go to Instance Group -> Health Checks and delete our health check.
You can also delete the instance template you created in this exercise

You can also delete any disks and images you have created.